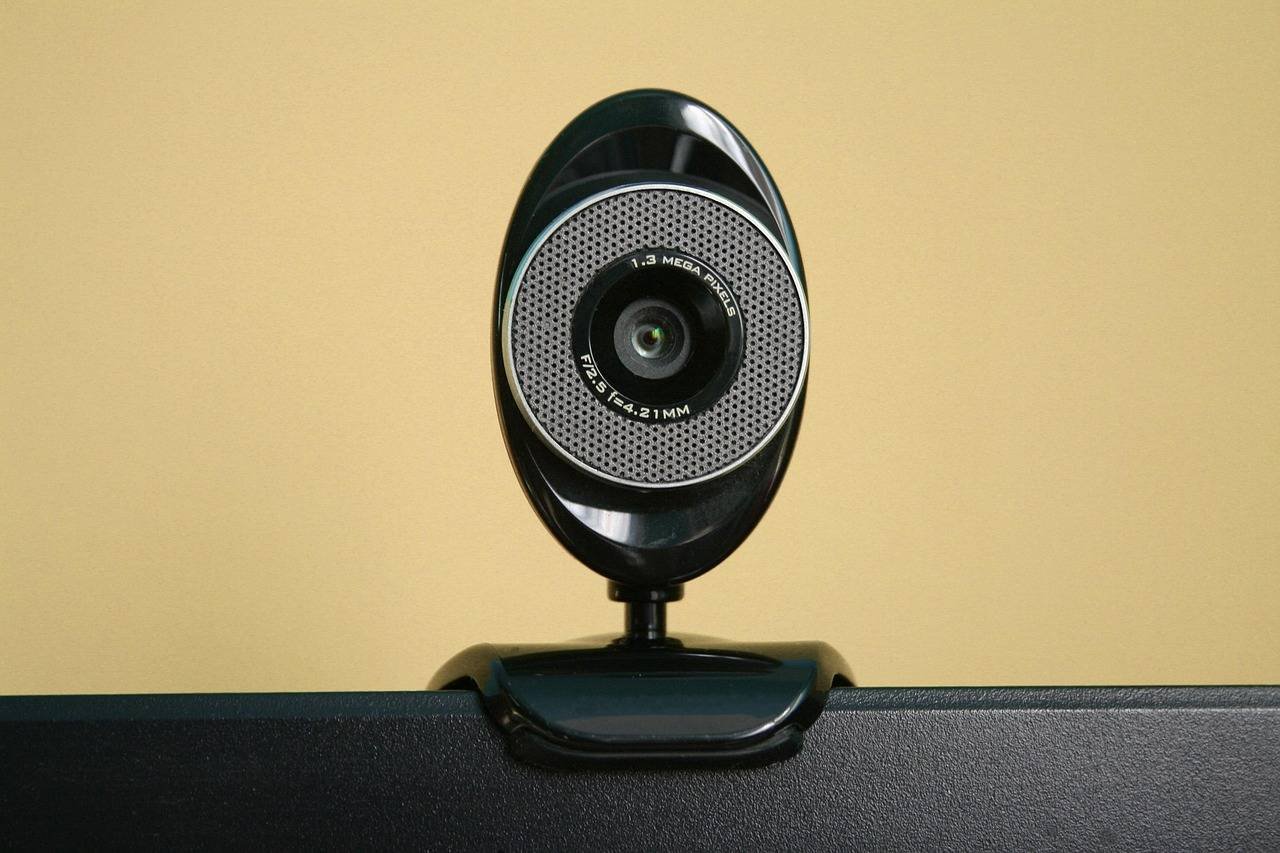

Have you ever been in a video call and wished your iPhone’s superior camera could replace your grainy laptop webcam? With Apple’s Continuity Camera feature, that’s exactly what you can do. This powerful tool transforms your iPhone into a high-quality, wireless webcam for your Mac, unlocking professional-grade video and unique features for meetings, live streams, and content creation.
In this comprehensive guide, we’ll walk you through everything you need to know: from enabling and using Continuity Camera to disabling it when needed, troubleshooting common issues, and exploring its advanced features. We’ll provide clear, step-by-step instructions, practical tips from real-world use, and insights you won’t find in the standard manual, helping you master this game-changing Apple ecosystem feature.
What is Continuity Camera and Why Should You Use It?
Introduced with macOS Ventura and iOS 16, Continuity Camera is a hallmark of Apple’s tightly integrated ecosystem. It uses a secure Bluetooth and Wi-Fi connection to seamlessly pair your iPhone with your Mac. Once connected, your Mac’s video conferencing apps (like Zoom, Teams, Google Meet, FaceTime, or OBS) automatically recognize your iPhone as a selectable webcam.
The benefits are significant:
- Dramatically Superior Video Quality: Your iPhone’s advanced camera sensor, with its larger pixels and better lens, far outclasses even the best built-in MacBook webcams, especially in low-light conditions.
- Access to iPhone-Exclusive Features: This includes Center Stage (auto-framing to keep you in the frame), Portrait Mode (beautiful background blur), and Studio Light (dimming the background and illuminating your face).
- Unique Desk View: A magical feature that uses your iPhone’s Ultra Wide camera to show an overhead desk view alongside your face, perfect for showing sketches, objects, or unboxings.
- Wireless Freedom: Position your iPhone anywhere—on a shelf, a tripod, or a dedicated mount—for the perfect angle without cable constraints.
Prerequisites: What You Need to Get Started
Before we dive into the steps, let’s ensure you have everything required:
- A Compatible iPhone: iPhone XR or later.
- A Compatible Mac: Mac running macOS Ventura (13.0) or later.
- Software: Both devices must be signed into the same Apple ID with Two-Factor Authentication enabled. Also, ensure Wi-Fi and Bluetooth are turned on for both. Pro Tip: For the most stable connection, keep both devices on the same Wi-Fi network.
Part 1: How to Enable & Set Up Continuity Camera
Enabling Continuity Camera is straightforward. You have two main methods: the automatic, seamless way and the manual way.
Method 1: The Automatic, Seamless Connection (The Standard Way)
This is Apple’s intended, hands-off experience.
- Unlock & Position Your iPhone: Unlock your iPhone and place it in landscape orientation (charging port to the right for most models) on a stable surface or mount near your Mac. You can even use it with a MagSafe or standard phone holder attached to your Mac’s display.
- Connect via USB (Optional but Recommended for First-Time Setup): For the initial setup and the most reliable, low-latency connection (especially important for live streaming), connect your iPhone to your Mac using a Lightning or USB-C cable. Your Mac may ask for permission to “Trust This Computer” on your iPhone; tap Trust and enter your passcode.
- Let the Magic Happen: With your iPhone near your Mac, a small green indicator will appear at the top of your iPhone’s screen, indicating it’s being used as a camera. On your Mac, open any compatible video app like FaceTime or Zoom.
- Select the Camera: In your video app, go to the video settings or preferences. In the camera selection menu, you should now see “iPhone [Your iPhone’s Name] Camera” (e.g., “iPhone 15 Pro Camera”) listed alongside your built-in webcam. Select it.
And you’re live! Your iPhone’s feed is now powering your video call with significantly better quality.
Method 2: Manual Connection via Control Center
If the automatic connection isn’t working or you want more control, you can manually activate it.
- On your Mac, click the Control Center icon (sliders) in your menu bar.
- Click on Video Effects.
- Under “Camera,” click the dropdown menu. You should see your iPhone listed. Select it.
- You can also toggle the Continuity Camera features like Center Stage, Portrait Mode, and Studio Light directly from here.
Part 2: How to Disable or Turn Off Continuity Camera
There are several reasons you might want to disable Continuity Camera: to save your iPhone’s battery, use your Mac’s built-in camera for quick calls, or troubleshoot connection issues. Here’s how to do it.
Method 1: The Quickest Way (On Your Mac)
This is the most common method during an active call or session.
- In your video application (e.g., Zoom, Teams), locate the camera/video selection menu (usually a video icon).
- Click the dropdown and select your Mac’s built-in camera (e.g., “FaceTime HD Camera”) from the list. This immediately stops using your iPhone as the webcam.
- The green camera indicator on your iPhone will disappear, confirming it’s no longer active.
Method 2: Disconnect via Control Center on Mac
- Open Control Center from your Mac’s menu bar.
- Click Video Effects.
- In the “Camera” dropdown, select your Mac’s built-in camera instead of your iPhone.
Method 3: The Surefire Way (On Your iPhone)
To ensure your iPhone is completely disconnected as a webcam source:
- On your iPhone, swipe down from the top-right corner to open the Control Center.
- Look for the “Continuity Camera” icon. It looks like a video camera with a small link symbol.
- If it’s green or highlighted, tap it once to turn it off. The icon will become greyed out.
- Alternatively, if you see a small green or orange “pill” indicator at the top of your screen (beside the time), tap it. A message will pop up saying “[Your Mac Name] is using your camera.” Tap Disconnect.
Method 4: The Nuclear Option – Disable in System Settings
If you want to prevent your Mac from ever using your iPhone as a camera (useful in shared workspaces or for IT management):


- On your Mac, go to System Settings (or System Preferences in older versions).
- Click on General -> AirDrop & Handoff.
- Find the setting labeled “Allow your iPhone to be used as a webcam for this Mac” or similar.
- Toggle this setting OFF. This will block the feature at the system level until you re-enable it.
Part 3: Troubleshooting Common Continuity Camera Issues
Even the best technology can hiccup. Here are solutions to common problems, drawn from real user experiences and Apple’s support forums.
Issue 1: iPhone Not Appearing as a Camera Option on Mac
- Solution: First, check all prerequisites: same Apple ID, both devices on same Wi-Fi, Bluetooth on, macOS Ventura+/iOS 16+. Restart both devices—this solves most transient connectivity glitches. For the first time, connect via USB cable to pair them, then try wireless.
Issue 2: Poor Video Quality or Laggy Feed
- Solution: This is almost always a network issue. Ensure no other devices are heavily using your Wi-Fi bandwidth. Bring your iPhone closer to your Mac to strengthen the wireless signal. For a flawless experience, especially for live streaming, use a wired USB connection. This provides power, stability, and the highest quality.
Issue 3: Desk View or Studio Light Not Working
- Solution: These features require an iPhone with an Ultra Wide camera (iPhone 11 and later). Ensure you’re using a compatible iPhone. Also, Desk View requires your iPhone to be positioned in portrait orientation (upright) to see your desk below. For Studio Light, ensure you’re in a moderately lit environment; it won’t work in pitch darkness.
Issue 4: Green Camera Indicator Stays On After Disconnecting
- Solution: This is a common bug. Force quit the video app on your Mac (like Zoom) that was using the camera. If that doesn’t work, restart your iPhone. This clears any stuck processes.
Advanced Tips & Unique Value: Beyond the Basics
Most guides stop at the enable/disable steps. Here’s where we add unique, practical value:
1. Pro Mounting Solutions:
Don’t just lean your iPhone on books. Invest in a MagSafe-compatible tripod mount or a clip-mount designed for laptop displays. Companies like Belkin and Twelve South offer excellent options that provide stability and the perfect angle, making Desk View incredibly effective.
2. Optimizing for Specific Use Cases:
- For Content Creators: Use Continuity Camera with OBS Studio via the Camera Assistant app from the App Store (free) to add your iPhone as a high-quality video source with full control over resolution and frame rate.
- For Presentations: Combine Center Stage and Portrait Mode for a polished, professional look where you are always framed perfectly with a blurred, distraction-free background.
- For Hybrid Meetings: Position your iPhone to capture a wider field of view of a small meeting room, giving remote participants a better sense of the space.
3. Power Management:
Using Continuity Camera wirelessly drains your iPhone battery. For long sessions, keep your iPhone plugged into a power source. If you’re using a USB connection to your Mac, it will charge slowly while in use.
4. The Future: iOS 18 and macOS Sequoia Updates
With the latest updates, Continuity Camera is getting even smarter. Look out for enhanced gesture controls (like giving a thumbs-up to trigger an effect) and even more integration with third-party apps, making your iPhone an indispensable creative tool for your Mac.
Frequently Asked Questions (FAQ)
Q: Can I use Continuity Camera on a Windows PC?
A: No, it is a proprietary feature that requires macOS and the Apple ecosystem. It will not work with Windows.
Q: Does Continuity Camera work with iPad?
A: No, currently the feature is designed specifically for iPhone-to-Mac pairing. An iPad cannot be used as a webcam for a Mac via this system.
Q: Can I use the rear cameras on my iPhone?
A: Yes! When you select your iPhone as the camera in your Mac’s app, it uses the rear-facing camera system by default, which is superior to the front-facing camera.
Q: Is my video data secure?
A: According to Apple, the video feed is encrypted and transmitted directly between your iPhone and Mac over a private peer-to-peer wireless connection, not through iCloud or the internet. This makes it very secure for private calls.
Q: Why is the video quality in my app still poor even with Continuity Camera?
A: Some apps (like older versions of Zoom) may limit video quality to conserve bandwidth. Check the video settings within the specific app and select the highest available resolution (e.g., 1080p).
Conclusion
Apple’s Continuity Camera is more than a gimmick; it’s a genuinely transformative tool that elevates your video communication. By turning your iPhone into a professional-grade webcam, you gain a massive quality upgrade and creative features without any extra cost.
The process to enable or disable it is simple, giving you flexibility. Remember the key steps: ensure compatibility, connect via USB for setup, select your iPhone in your video app, and use your Mac’s Control Center or the app’s settings to switch back when done. Keep our troubleshooting and pro tips in mind to solve any issues and unlock the feature’s full potential.
So, the next time you have an important video call, a live stream, or want to record a high-quality presentation, remember the powerful camera already in your pocket. Set up Continuity Camera and see yourself in a whole new light.