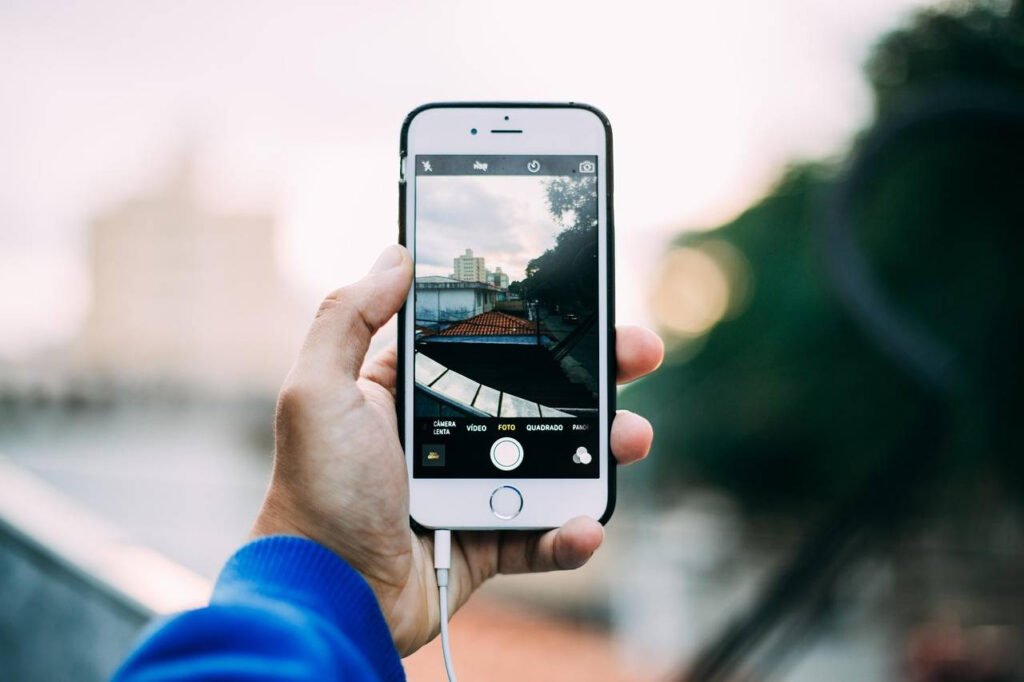

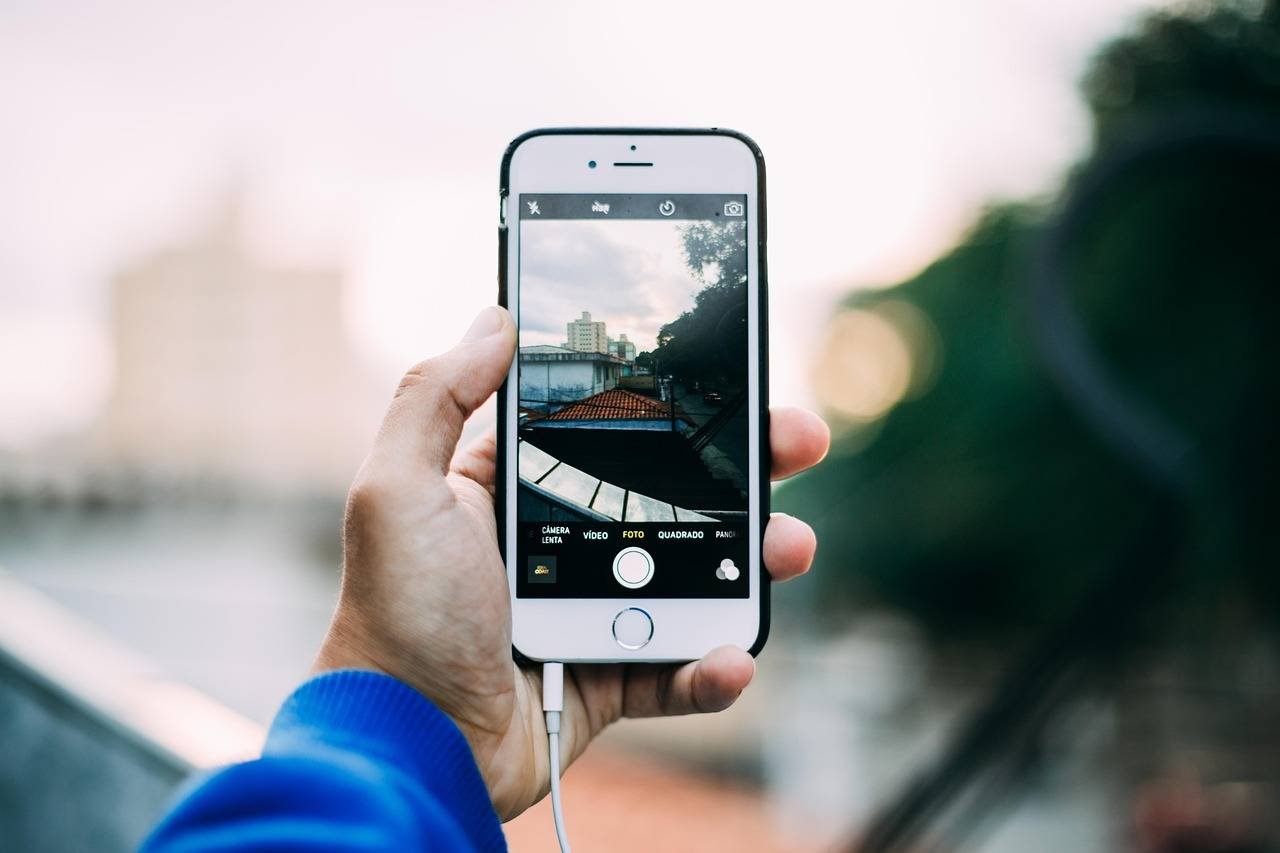
Imagine you’ve just spent twenty minutes perfecting a photo’s lighting, color, and sharpness. You’re thrilled with the result. Now, you have fifty other shots from the same event that need the same magic. The thought of manually repeating every edit is exhausting. What if I told you that with just three taps, you can copy those perfect edits and paste them onto any other photo in your library? This powerful, time-saving feature in the iPhone’s Photos app is a game-changer for photographers, social media managers, and anyone looking to maintain a consistent aesthetic. This guide will not only show you how to master this tool but also dive deep into its strategic uses, limitations, and expert tips you won’t find in the official manual.
What Does “Copy and Paste Edits” Actually Do?
Before we get to the “how,” let’s understand the “what.” When you copy edits from a photo on your iPhone, you’re capturing a complete recipe of every adjustment you made using the built-in editing tools. This includes:
- Light & Color: Exposure, Brilliance, Highlights, Shadows, Contrast, Black Point, Saturation, Vibrance, Warmth, Tint, and Sharpness.
- Filters: Any of the built-in photo filters (like Vivid, Dramatic, or Noir) and their intensity.
- Crop & Rotate: The exact crop ratio, rotation angle, and straightening.
- Depth & Portrait Lighting Controls: For photos taken in Portrait mode, this includes the f-stop (aperture) effect level and Portrait Lighting styles (like Studio Light or Contour Light).
Crucially, it does NOT copy: The actual image data, any markup drawings, text additions made with the Markup tool, or edits applied by third-party apps like Lightroom or VSCO before the photo was saved back to your library.
Step-by-Step Guide: How to Copy and Paste Edits
The process is elegantly simple and works across iPhone models running a relatively recent version of iOS (iOS 16 and later refined this feature significantly).
Step 1: Create Your “Edit Master” Photo
First, select the photo you’ve already edited to perfection. Open it and tap Edit in the top right corner. Make any final tweaks until you are completely satisfied. This photo is now your template or master edit.
Step 2: Copy the Edits
With the edited photo open (you don’t need to be in the Edit mode), look for the three-dot menu (...) in the top right corner of the screen. Tap it.
A menu will pop up. Select Copy Edits.
![Visual placeholder: Screenshot of the Photos app menu with “Copy Edits” highlighted.]
That’s it. The entire edit recipe is now stored on your iPhone’s clipboard, ready to be used.
Step 3: Paste Edits onto a New Photo
- Exit the current photo and go to your library or album.
- Select the new, unedited photo you want to enhance. You can even select multiple photos at once by tapping “Select” in the top right and choosing several images.
- Tap the three-dot menu (
...) again in the top right. - From the menu, select Paste Edits.
Instantly, all the adjustments from your master photo are applied to the new selection. The app will process for a moment, and voilà—you have a consistently edited batch of photos.
Pro Tip: You can also use this workflow directly from the thumbnail view. Press and hold on your edited photo’s thumbnail, tap “Copy Edits” from the quick menu, then select your target photos and choose “Paste Edits.”
Strategic Uses and Expert Applications (The “Why”)
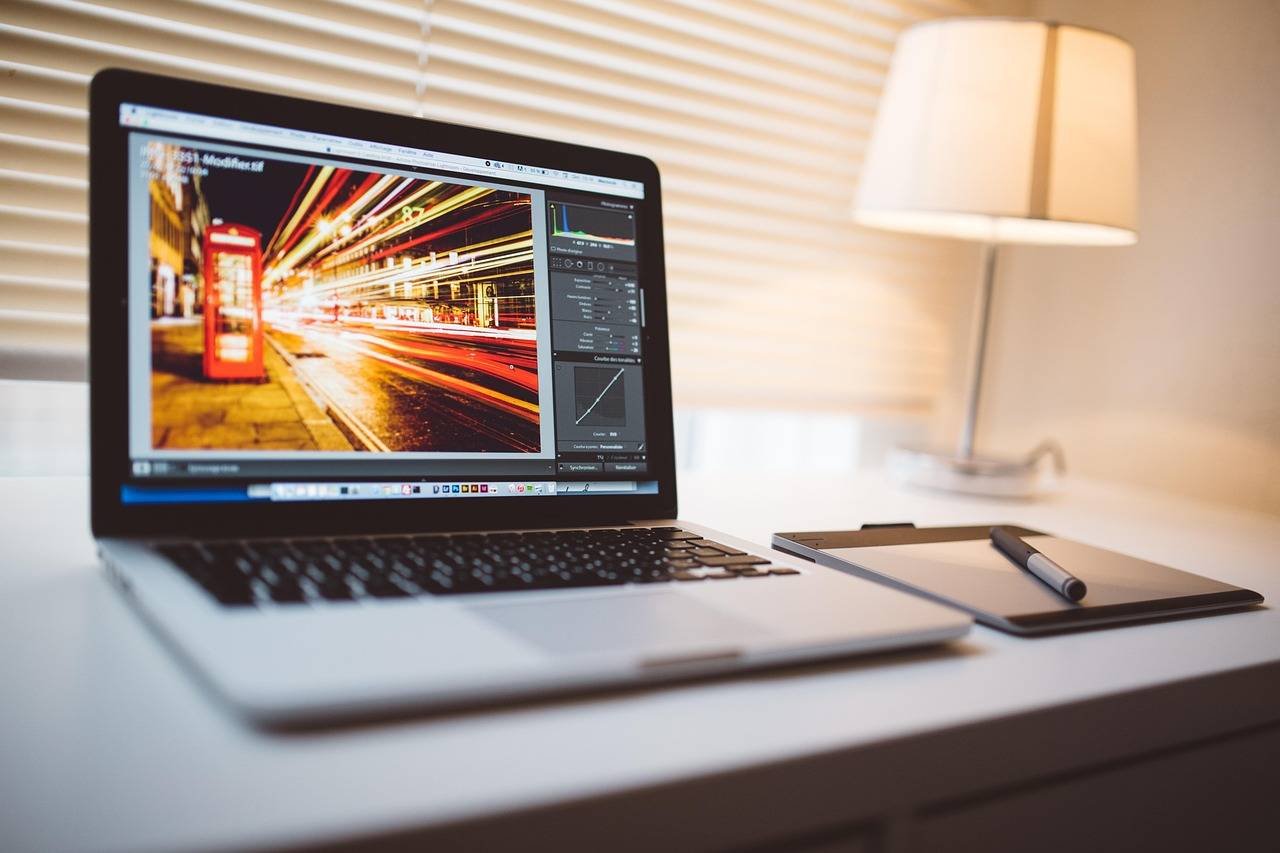
Beyond basic batch editing, this feature unlocks powerful workflows:
- Create a Signature Style: Develop a unique edit—perhaps a specific matte look with lowered blacks and a warm tint. Once saved, this becomes your one-click signature style for all your Instagram grid photos.
- Fix Poor Lighting in a Series: Did you shoot an entire indoor event with slightly wrong white balance? Correct it perfectly on one photo and paste the fix to the entire set.
- Efficient Product Photography: If you’re selling items online and take multiple shots of similar products against the same background, paste edits to ensure color accuracy and lighting are uniform across all listings.
- Portrait Session Consistency: Apply the same skin tone adjustments, sharpening, and Portrait mode effects to every shot from a session for a professional, cohesive look.
Limitations and How to Work Around Them
Understanding the boundaries of this tool is key to expertise.
- Dramatically Different Photos: Pasting a dark, moody edit onto a bright, sunny beach photo will look unnatural. The feature applies adjustments absolutely, not relatively. Use it best on photos shot in the same lighting conditions.
- Workaround: After pasting, quickly tap “Edit” and adjust just the Exposure or Highlights sliders to better suit the new photo’s base lighting.
- No Selective Editing: You cannot copy only the crop or only the filter. It’s an all-or-nothing paste.
- Workaround: If you only want to replicate a crop, use the Duplicate feature first. Duplicate the master photo, reset all edits on the duplicate except the crop, then copy that edit.
- Photos Format Compatibility: Edits copy seamlessly between JPEG and HEIC images. However, for ProRAW files, the process works but pastes the standard edit adjustments. The deep ProRAW data remains intact for further manipulation.
Advanced Tips & Frequently Asked Questions (FAQ)
Q: How long do copied edits stay on the clipboard?
A: They remain available until you copy something else—text, a link, or edits from another photo. The clipboard holds one item at a time.
Q: Can I use this to edit a Live Photo or a video?
A: Yes, but with nuance. You can copy edits from a still photo and paste them onto a Live Photo. The edit will apply to the key photo and preview. For videos, you can copy edits from another video (including crop, filters, and color adjustments) but not from a still photo.
Q: I don’t see the “Copy Edits” option. Why?
A: Ensure your iPhone is updated to at least iOS 16. Earlier versions had a more hidden “Copy” and “Paste” adjustment feature buried within the Edit menu itself. Updating provides the more intuitive three-dot menu access.
Q: Are these copied edits saved anywhere for later use?
A: Not permanently within the Photos app. For a permanent “preset,” take a master photo you love, duplicate it, and store it in a “My Presets” album. You can always copy edits from that duplicated file in the future.
Maximizing Efficiency: Workflow Integration
To truly harness this feature, integrate it into your broader photo management strategy.
- Culling First: Always select your “keeper” photos before editing.
- Choose the Best Master: Pick the most technically challenging photo (e.g., the one with the trickiest lighting) as your master to edit. If the edit works on the hardest shot, it will work on the easier ones.
- Batch Select and Paste: Use the multi-select tool to apply edits to dozens of photos in one go. This is where you save hours.
- Fine-Tune Exceptions: After batch pasting, quickly scroll through the batch. One or two photos might need minor individual tweaks—address those individually.
Conclusion: A Foundation for Pro-Level Editing
The “Copy and Paste Edits” feature demystifies consistent, high-quality photo editing. It transforms a repetitive task into a swift, scalable process. While it’s not a replacement for learning the fundamentals of what each slider does—understanding exposure, contrast, and color balance is still crucial—it is the ultimate tool for applying that knowledge efficiently. By mastering this function, you free up creative energy to focus on composition, storytelling, and capturing the moment, knowing the editing process is under your precise and rapid control.
Start today: Open your Photos app, find a set of images from a recent trip or event, and create your first consistent batch. It’s the simplest step toward a more professional and polished photo library.
For more detailed information on the technical aspects of Apple’s photo processing, you can refer to Apple’s official iOS and iPadOS Feature Availability page. To understand the photography principles behind great edits, resources like PetaPixel’s tutorials offer valuable, in-depth knowledge.