
Ever snapped a perfect moment only to find the subject’s face hidden in a dark shadow? Or perhaps a beautiful landscape shot feels flat because the shadows lack depth? Adjusting shadows in your iPhone photos is the key to unlocking professional-looking, balanced, and dramatically better images directly from your pocket. This guide will move beyond simple brightness sliders and dive deep into the precise, powerful tools your iPhone offers to control light, rescue detail, and shape the mood of every photograph.
For photographers of all levels, mastering shadow adjustment isn’t just a technical skill—it’s the art of storytelling with light. Whether you’re using the native Photos app, the robust Lightroom Mobile, or even capturing with ProRAW, this comprehensive article will walk you through every method, tool, and creative consideration. We’ll explore not just the “how,” but the “why,” ensuring you can confidently adjust shadows in photos on iPhone to reveal hidden details, enhance texture, and craft images that truly stand out.
Why Shadow Control is a Game-Changer for iPhone Photography
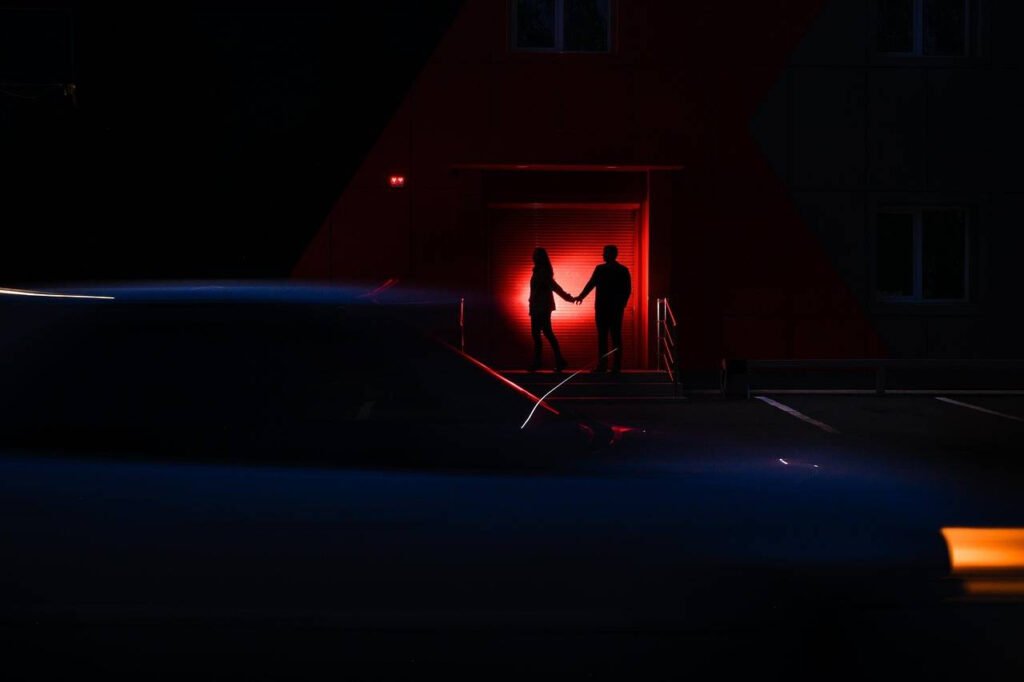
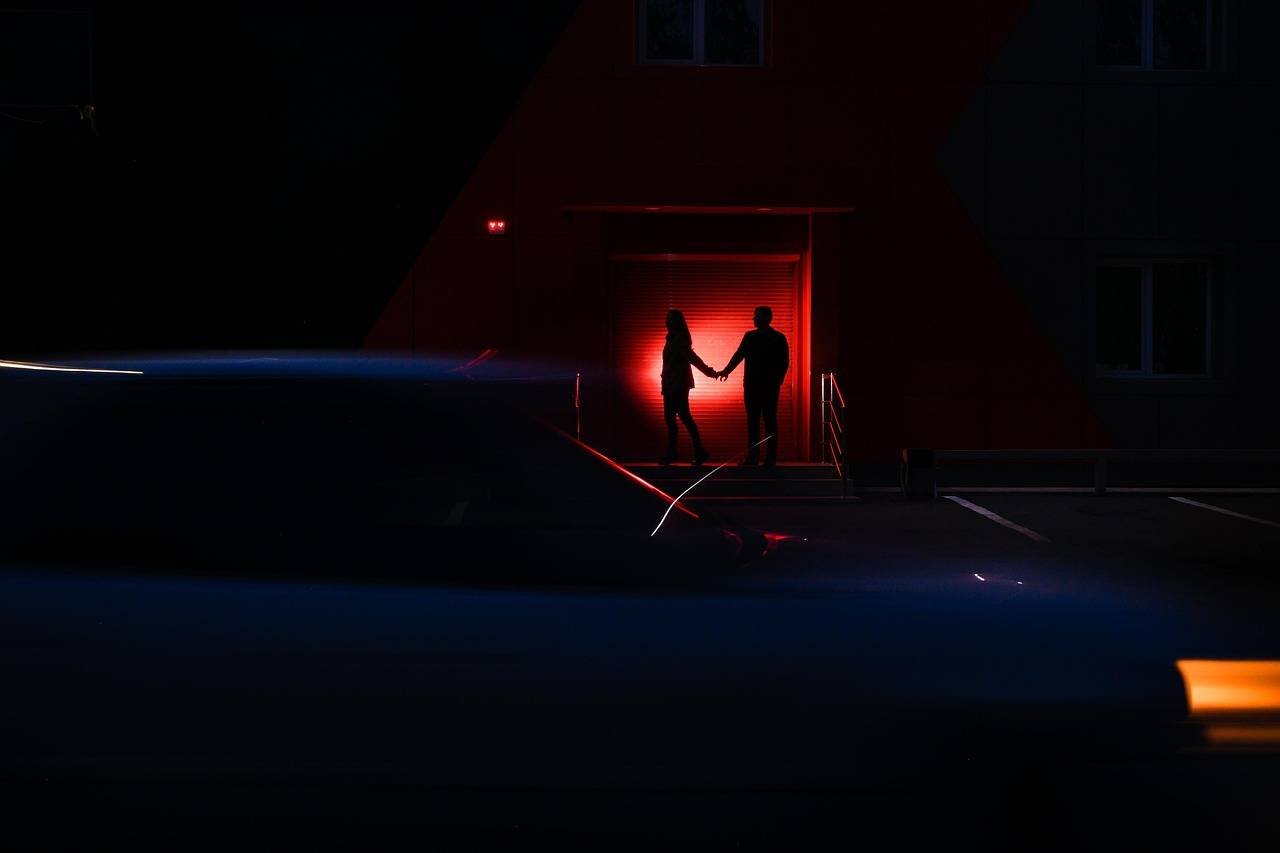
Shadows are not merely the absence of light; they are essential components of composition, dimension, and emotion in a photo. Before we adjust them, let’s understand their role:
- Depth & Dimension: Shadows create a sense of three-dimensionality, making objects feel solid and scenes feel real.
- Focus & Drama: They can guide the viewer’s eye, emphasizing your main subject and adding dramatic contrast.
- Mood & Atmosphere: Deep, dark shadows can evoke mystery or tension, while lifted, open shadows often feel airy and positive.
Conversely, problematic shadows—those that are too harsh, too dark, or in the wrong place—can ruin a shot by obscuring important details, creating unflattering contrasts, or making an image feel unbalanced.
Method 1: The Foundation – Using the Native iPhone Photos App
The built-in Photos app is surprisingly powerful and is the fastest way to make impactful edits. It’s your first stop for quick yet effective shadow adjustments.
Step-by-Step Guide in the Photos App:
- Open your photo and tap Edit.
- Tap the Adjustments icon (it looks like a dial with a slider).
- Here, you have two primary tools for shadows:
- Shadows Slider: This is your precision tool. Dragging it to the right (increasing) lifts or brightens the darker areas of your image without drastically affecting the highlights. This is perfect for revealing details in a backlit subject’s face or in the darker areas of a landscape.
- Black Point Slider: Found within the Light adjustments, this controls the absolute darkest point in your image. Dragging it to the left (decreasing) makes the blacks less intense, giving a softer, faded film look. Dragging it to the right (increasing) deepens the darkest areas, adding punch and contrast.
Pro Insight: Don’t just stop at the Shadows slider. Often, a combination is key. Try this sequence for a balanced look:
- Adjust Exposure for overall brightness.
- Use Highlights to recover any blown-out skies or bright spots.
- Use Shadows to open up the dark areas.
- Fine-tune with Contrast and Black Point to bring back definition if the image starts to look flat.
Creative Use Case: Saving a Backlit Portrait
Imagine a portrait where the sun is behind your subject, casting their face into shadow. Simply lifting the Shadows slider can miraculously reveal their expression while (crucially) keeping the bright, sunny background intact—something a global Exposure increase would overexpose.
Method 2: Advanced Control with Third-Party Apps (Lightroom Mobile)
For granular, professional-grade control, Adobe Lightroom Mobile is a free powerhouse. It offers localized adjustments and more nuanced shadow controls.
Mastering Shadows in Lightroom Mobile:
- The Light Slider Panel: Under Light, you’ll find familiar controls like Exposure, Contrast, Highlights, and Shadows. The behavior is similar to the Photos app but often feels more refined.
- The Selective Tool (The True Powerhouse): This is where you gain surgical precision. Tap the Masking icon > Select Subject or Brush. Now, you can paint over only the shadowy areas you want to affect. Once your mask is created, you can use the sliders to adjust just those areas. This prevents you from altering the entire image’s contrast.
Unique Perspective: The “Dehaze” Trick for Shadow Contrast
A less obvious tool is the Dehaze slider (found under “Effects”). While designed to cut atmospheric haze, increasing Dehaze also deepens shadows and increases mid-tone contrast in a unique way. Conversely, negative Dehaze can lift shadows with a different character than the Shadows slider, offering a creative alternative.

Method 3: The Ultimate Flexibility – Shooting & Editing ProRAW
For the highest quality and editing latitude, ProRAW (available on iPhone 12 Pro and later) is revolutionary. It captures a much wider range of light data.
Why ProRAW is a Shadow-Adjuster’s Dream:
A standard JPEG photo discards a vast amount of data captured by the sensor. ProRAW preserves this data. In practice, this means when you drag the Shadows slider on a ProRAW file, you are revealing clean, detailed information with far less noise and banding compared to a JPEG. It gives you the power to recover extreme shadow detail that would be lost forever in a standard photo.
How to Enable & Edit ProRAW:
- Go to Settings > Camera > Formats and enable Apple ProRAW (and set your preferred resolution).
- In the Camera app, tap the RAW icon in the top-right to activate it for your shot.
- Edit the ProRAW file in the Photos app or Lightroom Mobile. You’ll immediately feel the increased flexibility when pulling shadows.
Artistic Considerations: When to Adjust (And When to Leave Alone)
Knowing how to adjust shadows is only half the battle. The art lies in knowing when and how much.
- For a Natural, Documentary Look: Be subtle. Use shadow adjustments to reveal detail that the eye would naturally perceive, not to create an unnatural, flat HDR effect. Check for unnatural halos around high-contrast edges.
- For Dramatic, Moody Portraits: Sometimes, deep shadows are your friend. Instead of lifting them, consider deepening the Black Point or using the “Burn” tool in apps like Snapseed to intensify shadows for added drama and focus.
- For Product & Food Photography: The goal is often clarity and appeal. Lifting shadows can help show texture and detail in every part of the subject, making it look more inviting. Pair this with careful highlight control.
- Avoiding the “HDR Look”: The dreaded, over-processed look comes from pushing all sliders to extremes. Maintain a relationship between shadows and highlights. If you lift shadows significantly, often a slight reduction in highlights or a small increase in contrast can keep the image feeling grounded.
Troubleshooting Common Problems
- Increased Noise: Lifting shadows, especially in underexposed areas, can reveal digital noise. Use the Noise Reduction sliders in Lightroom Mobile or apps like Topaz Labs Photo AI (a powerful external tool) to clean this up.
- Loss of Contrast: If your image looks flat after lifting shadows, don’t reach for the Contrast slider first. Try subtly increasing Black Point or using a Curves tool (in Lightroom or Photomator) to add back depth only to the darkest tones.
- Color Shifts: Shadows aren’t just dark; they can have a color cast. After adjustment, you may notice muted or odd colors in the shadow areas. Use the Saturation and Vibrance sliders selectively, or adjust the Color Grade panel in Lightroom to color the shadows separately.
Beyond the Slider: Creative Techniques
- Dodge & Burn: This classic darkroom technique involves selectively lightening (dodging) and darkening (burning) areas. Use the Selective Brush in Lightroom or the Dodge & Burn tool in apps like Pixelmator Photo to sculpt light and direct attention with incredible precision.
- Using Presets Wisely: Many presets heavily manipulate shadows. Apply a preset you like, then go to the edit panel and observe what it did to the Shadow and Black Point sliders. This is a fantastic way to learn different stylistic approaches.
Conclusion: Your iPhone, Your Darkroom
Learning to adjust shadows in photos on iPhone transforms you from a passive shooter into an active visual storyteller. It bridges the gap between the scene you witnessed and the emotion you want to convey. Start by experimenting fearlessly in the Photos app, then graduate to the selective tools in Lightroom, and finally, embrace the raw power of ProRAW for your most important shots.
Remember, the goal is not to eliminate all shadows, but to master them. Use these tools to reveal, to hide, to sculpt, and to emphasize. With practice, these adjustments will become an intuitive part of your photography workflow, ensuring every image you capture with your iPhone reaches its full, stunning potential.
Ready to practice? Grab your iPhone, find a photo with challenging light, and try the three-step method: 1) Fix overall exposure, 2) Recover highlights, 3) Open shadows. Share your before-and-after results—the difference will speak for itself.
Disclaimer: This guide is based on extensive hands-on testing and experience with iOS 17 and the current versions of mentioned apps. Features and slider placements may change slightly with future updates. For the most technical definitions of image processing, resources like Cambridge in Colour offer excellent deep-dives.