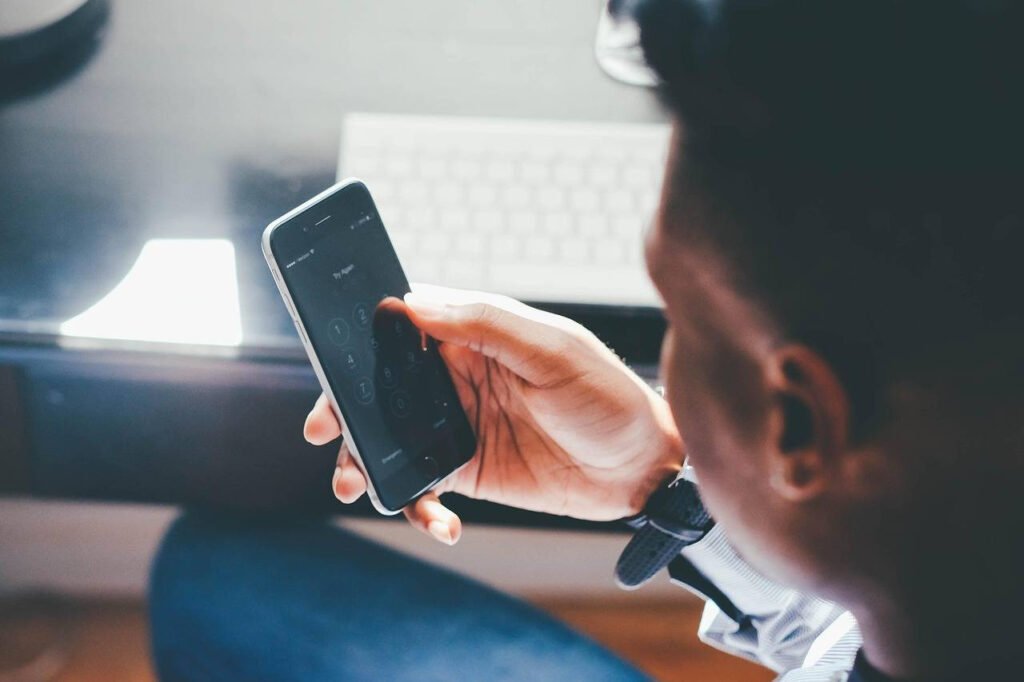

Your iPhone is a vault of personal information—private messages, financial data, personal photos, and more. While Face ID and your passcode do an excellent job locking the front door, what about securing individual rooms inside? What if you could hand your phone to a friend to show them a photo, but know your WhatsApp or banking app is still completely inaccessible?
The need for app-specific locking on iPhone is more relevant than ever. As our digital lives merge with the physical, we crave granular control. In this comprehensive guide, we’ll explore the official, built-in methods, powerful third-party solutions, and the future of iOS privacy.
Why Lock Individual Apps on Your iPhone?
Before we dive into the “how,” let’s understand the “why.” Apple’s ecosystem-wide security is robust, but there are legitimate scenarios where app-level locks add a crucial layer of privacy:
- Sharing Your Phone Temporarily: Letting someone use your phone to make a call, take a picture, or look up a recipe.
- Parental Control: Preventing children from accidentally (or intentionally) making in-app purchases or accessing adult content.
- Protecting Sensitive Data: Securing banking, email, password manager, or health apps that contain critically private information.
- Professional Settings: In work environments where colleagues might need to use a device for a shared task, but not access company communications.
- Defense Against “Shoulder Surfing”: Adding a second step for apps that might be visible on your screen in public spaces.
A Personal Note: I once handed my phone to a colleague to watch a video. As he swiped to exit, his thumb hovered over my Messages app. While I trust him, I felt a sudden, visceral need for a lock on that specific icon. That moment cemented my search for a solution.
The Core Limitation: Apple’s Philosophy on App Locking
Let’s address the elephant in the room first: Apple does not natively provide a feature to lock individual apps with Face ID or Touch ID.
This is a conscious design choice rooted in Apple’s philosophy of delivering a seamless, consistent user experience. The belief is that your device is secure once unlocked, and the user should have unfettered access to their apps. This prioritizes fluidity over granular, sometimes cumbersome, security layers.
However, this doesn’t mean you’re out of options. Apple provides powerful, system-level tools that, when used creatively, can achieve a similar outcome. We’ll start there.
Method 1: The Built-In, System-Level Approach (Using Screen Time)
Introduced in iOS 12, Screen Time is designed to help users monitor and limit their device usage. One of its features, App Limits, can be cleverly repurposed to function as an app locker.
How it Works: You set a “limit” of 1 minute for a chosen app. Once that minute is up, the app is blocked. To use it again, you must enter your Screen Time Passcode (which you set separately from your device passcode). This effectively locks the app behind a code.
Step-by-Step Guide: Locking Apps with Screen Time
Step 1: Set Up a Screen Time Passcode
If you haven’t already, you need to create a separate Screen Time passcode.
- Go to Settings > Screen Time.
- Tap Use Screen Time Passcode.
- Set a 4-digit passcode. Crucially, make this different from your iPhone’s unlock passcode.
- Re-enter the passcode to confirm.
Step 2: Apply an App Limit
- Stay in Settings > Screen Time.
- Tap App Limits, then Add Limit.
- You can select entire categories (like Social Networking) or, for more precision, tap the category name and then select All Apps & Categories. Scroll and tick the exact individual app you want to lock (e.g., WhatsApp, Gmail, Bank of America).
- Tap Next in the top right.
- Set the Time to 1 minute. This is the key—the shortest possible limit.
- Ensure Block at End of Limit is turned ON. Tap Add.
Step 3: Using the “Locked” App
- When you open the app, you’ll see a timer counting down your 1 minute.
- After 1 minute of use, the app will block with a “Time Limit Reached” screen.
- To continue, tap Ignore Limit and enter your Screen Time Passcode.
Pros:
- Free & Built-in: No need to download anything.
- Reliable: Uses iOS’s native framework.
- Works for Any App: You can lock literally any app installed from the App Store.
Cons:
- No Biometric Unlock: It requires entering a passcode, not Face ID/Touch ID.
- The 1-Minute Delay: You have to use the app for a minute before it locks, which isn’t instant.
- Can Be Circumvented: On the block screen, you can tap “Remind Me in 15 Minutes” for temporary access without the passcode (though this can be disabled in Screen Time settings under “Block at End of Limit” options).
- Separate Passcode: Managing yet another passcode can be inconvenient.
Method 2: Using Third-Party App Lockers from the App Store
For a more traditional, biometric-enabled experience, third-party apps are the solution. These apps create a secure “vault” or use accessibility features to intercept app launches, requiring authentication.
How They Work: Most high-quality app lockers use one of two methods:

- Guided Access Hack: They leverage Apple’s Guided Access feature (designed to lock the phone into a single app) to create a locking mechanism.
- Screen Recording & Overlay: They use screen recording APIs (with your permission) to detect when a target app opens and immediately overlay an authentication screen.
Recommended App: Lockdown Pro (Paid)
This is a popular, well-regarded option that uses the Guided Access method, which is more battery-efficient and reliable than the screen recording method.
Step-by-Step Setup with Lockdown Pro:
- Download Lockdown Pro from the App Store.
- Open the app and follow its initial setup. It will guide you to enable the necessary “Accessibility” permissions.
- You’ll be asked to set a primary authentication method (Face ID/Touch ID or a PIN).
- Once inside the app, you’ll see a list of all your installed apps. Simply toggle on the apps you want to lock.
- The first time you open a locked app, you’ll follow a one-time setup wizard that configures Guided Access for that specific app.
The User Experience:
When you tap a locked app (like Photos), it will open briefly before the Guided Access screen appears, demanding your Face ID, Touch ID, or passcode. Once authenticated, you are taken directly into the app. To unlock the device from the app, you typically triple-click the side button.
Key Considerations for Third-Party Lockers:
- Battery & Performance: Apps using constant screen recording can drain battery faster. Guided Access-based apps are generally lighter.
- Privacy: You are granting significant accessibility permissions. Only use apps from reputable developers with strong privacy policies. Read reviews and research the developer.
- iOS Updates: These apps often rely on specific iOS features that can change with updates, potentially breaking functionality until the developer issues a fix.
Pros:
- Biometric Unlock: True Face ID/Touch ID support.
- Instant Lock: App is locked immediately upon opening.
- More Features: Often include features like fake crash screens, intruder selfies, and decoy modes.
Cons:
- Cost: Most robust solutions are paid (one-time fee or subscription).
- Reliability: Can sometimes be finicky or break after iOS updates.
- Privacy Trust: Requires deep system access.
Method 3: The Nuclear Option: Using Built-in App Features
Many sensitive apps already have their own built-in locking mechanisms. This is often the most elegant and secure solution, as it’s designed by the app’s own developers.
- Banking & Finance Apps: Almost all major banks (Chase, Bank of America, etc.) and finance apps (PayPal, Venmo) offer Face ID/Touch ID login or an in-app passcode.
- Password Managers: 1Password, LastPass, and iCloud Keychain require master password or biometrics to reveal passwords.
- Notes & Documents: The native Notes app lets you lock specific notes with a password or Face ID. Google Drive and Dropbox offer app-level PINs.
- Photos: While the Photos app itself can’t be locked, you can use the Hidden album (which requires authentication to view in Settings) or Third-Party Vault Apps like Keepsafe.
Action Step: Before exploring complex workarounds, open your most sensitive apps and dive into their Settings or Privacy & Security menus. You might find a perfect solution already waiting.
FAQ: Your iPhone App Locking Questions Answered
Q1: Can I lock built-in Apple apps like Messages or Mail with Face ID?
A: Not directly. Apple does not provide this feature natively. Your options are to use the Screen Time method (passcode only) or a third-party app locker that supports system apps.
Q2: Is using a third-party app locker safe?
A: It can be, if you choose carefully. Opt for apps with a long history, positive reviews, transparent privacy policies, and a clear explanation of their methodology (like using Guided Access). Avoid obscure, free lockers that request excessive permissions.
Q3: Why won’t Apple just add this feature?
A: It’s likely a mix of user experience philosophy and technical architecture. Adding system-level app locks could complicate the iOS codebase and potentially create new security vectors. However, user demand is significant, and Apple has a history of eventually adopting popular features.
Q4: Will app lockers drain my iPhone battery?
A: It depends on the method. Apps relying on constant background screen recording can impact battery life. Those using Guided Access typically have minimal battery impact. Check the app description and reviews for mentions of battery usage.
Q5: What’s the most secure method?
A: The most secure method is a combination:
- Use the app’s own built-in lock (if available).
- Keep your iPhone’s main passcode strong and private.
- Use Screen Time as a secondary barrier for apps without native locks.
Third-party lockers add convenience but introduce another element (the app itself) that must be trusted.
The Future of App Security on iOS
Looking at the trajectory of iOS, Apple is deepening privacy features at the OS level. With features like Lockdown Mode (for extreme threats) and enhanced App Privacy Reports, the framework for more granular control exists. While there’s no official word, the community’s persistent request for app locks could materialize in a future iOS update, perhaps integrated into a revamped Screen Time or Accessibility suite.
Final Recommendation & Verdict
So, what should you do today?
- For Most People & Maximum Security: First, enable in-app authentication wherever offered (banking, notes, etc.). For other apps, use the built-in Screen Time method. It’s free, reliable, and doesn’t require trusting a third party.
- For Convenience & Biometric Access: If you must have Face ID unlocking and find Screen Time too clunky, invest in a reputable, one-time-purchase app locker like Lockdown Pro. Do your research and understand the permissions you’re granting.
- The Mindset Shift: Ultimately, remember that your iPhone’s primary lock is its first and best defense. Cultivate habits like triggering a manual lock (Side Button) before handing over your phone, and use Guided Access (triple-click Side Button) to lock the phone into a single, safe app when needed.
Your digital privacy is a layered endeavor. While iPhone app locking requires a workaround today, understanding these methods empowers you to create the precise level of security your digital life deserves. Start with the app-specific settings, layer on Screen Time for broader control, and you’ve taken a powerful step toward a truly personal and private device.