
Seeing the dreaded “SIM Not Supported” or “Invalid SIM” alert on your iPhone can instantly spike your anxiety. This error cuts off your cellular connection—no calls, texts, or mobile data. Before you panic about a costly repair or replacement, know this: the problem is often solvable at home.
This comprehensive guide is your definitive resource. We’ll demystify the error, walk you through a step-by-step troubleshooting sequence from simple to complex, explain the technical reasons behind it, and provide unique insights to get you back online quickly.
Understanding the “SIM Not Supported” Error: What Does It Really Mean?
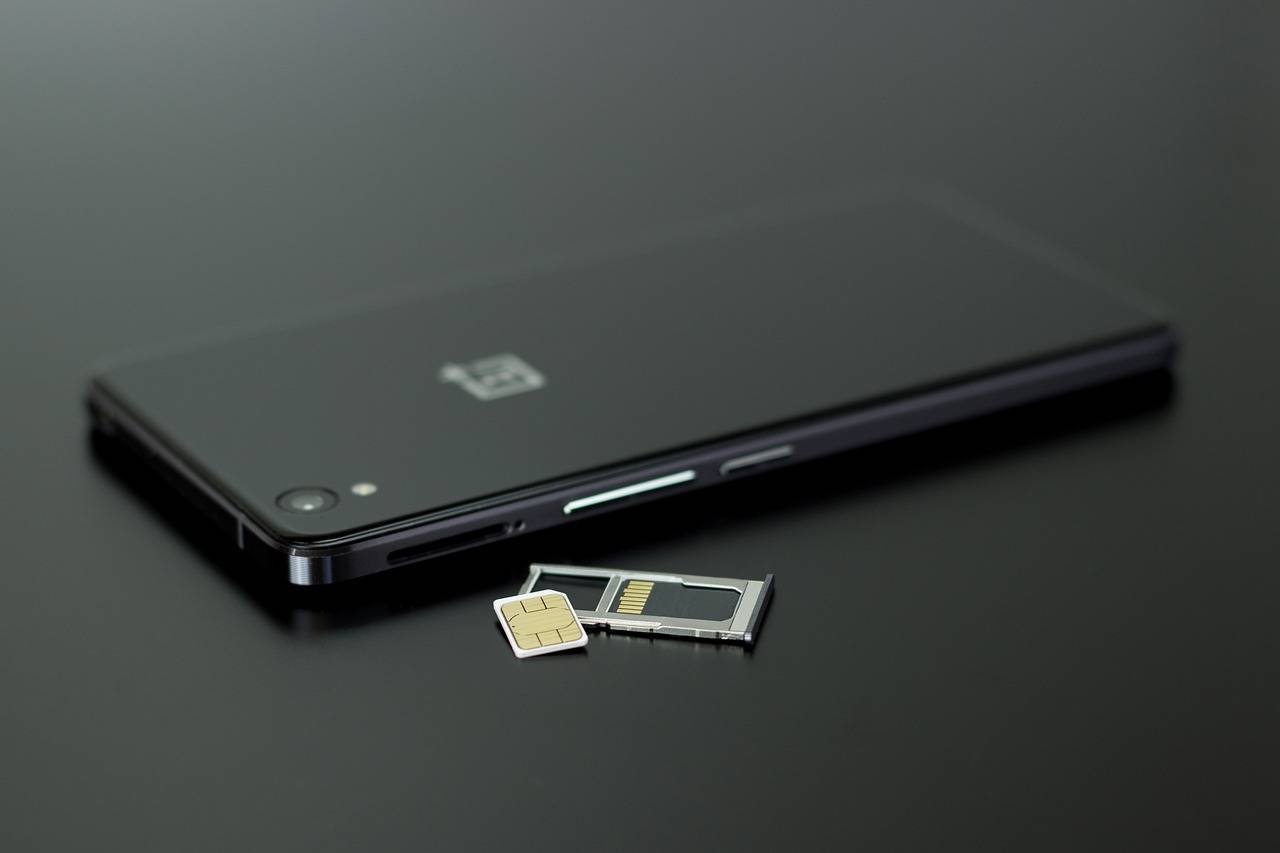
At its core, this error is your iPhone’s way of saying it cannot recognize or communicate with the Subscriber Identity Module (SIM) card inserted. The SIM card is the tiny chip that identifies you to your carrier’s network. When the handshake between the phone and the chip fails, this error appears.
It’s crucial to understand this is a communication error, not necessarily a death sentence for your SIM or phone. The fault could lie with the SIM card, the iPhone’s hardware, the carrier’s network, or a software bug.
Before You Begin: Immediate First Steps
- Check for Service Outages: Before touching your phone, visit your carrier’s website (e.g., Verizon’s Outage Map or Downdetector) or their social media to see if there’s a known network issue in your area.
- Restart Your iPhone: The oldest trick in the book is often the best. A simple restart can clear temporary software glitches. Hold the side button and volume button, then slide to power off.
- Check for Carrier Updates: Sometimes, your carrier pushes small updates to improve network connectivity.
- Go to Settings > General > About. If an update is pending, a prompt will appear.
Step-by-Step Troubleshooting Guide (Easiest to Most Complex)
Follow these steps in order. Most users resolve the issue within the first few stages.
Step 1: The Physical SIM Card Check
The problem is often physical. Dust, damage, or improper seating are common culprits.
What you’ll need: A SIM eject tool (paperclip works) and a clean, lint-free cloth.
- Power off your iPhone.
- Eject the SIM tray: Insert the tool into the small hole on the SIM tray (on the right side or top of older models). Gently pull the tray out.
- Inspect the SIM Card:
- Look for visible scratches, cracks, or discoloration on the gold contacts.
- Check if the SIM is for the correct size (nano-SIM for modern iPhones).
- Clean the SIM Card and Tray:
- Gently wipe the gold contacts on the SIM card with a dry, clean cloth.
- Use a can of compressed air to blow out any dust from the SIM tray and the port inside the phone. Do not blow with your mouth, as moisture can cause damage.
- Reinsert Carefully: Place the SIM back into the tray, ensuring it’s seated flush and the notch aligns. Gently push the tray back into the phone until it clicks.
- Power on and test.
Unique Perspective: In my experience as a technician, oxidized contacts are a frequent, overlooked issue. If gentle cleaning doesn’t work, using a very small amount of isopropyl alcohol (90%+) on a cotton swab to clean the gold contacts can work wonders. Let it dry completely before reinserting.
Step 2: Network & Settings Reset
If the physical check fails, let’s reset the phone’s network logic.
- Toggle Airplane Mode: Swipe into Control Center and tap the airplane icon. Wait 30 seconds, then turn it off. This forces the phone to re-scan for networks.
- Manual Network Selection:
- Go to Settings > Cellular > Network Selection.
- Turn off “Automatic.”
- Wait for a list of available networks to populate. Select your carrier’s network.
- If it fails or your carrier doesn’t appear, turn “Automatic” back on.
- Reset Network Settings: This clears all saved Wi-Fi passwords, VPN settings, and cellular preferences but is highly effective.
- Go to Settings > General > Transfer or Reset iPhone > Reset > Reset Network Settings.
- Enter your passcode and confirm. Your iPhone will restart.
Step 3: The Carrier & Account Check
The issue might be on your carrier’s end, not your device.
- Verify Account Status: Use another phone or Wi-Fi calling to contact your carrier. Ensure your account is active, in good standing, and not suspended.
- Confirm iPhone is Unlocked: A “SIM Not Supported” error is the classic sign of a carrier-locked iPhone. If you bought your phone from a carrier (e.g., AT&T) on an installment plan, it’s likely locked to that carrier until paid off.
- How to check: You can use third-party IMEI check services (use reputable ones) or, more reliably, contact your current carrier and ask them to check the lock status using your IMEI (find it in Settings > General > About).
- Request a New SIM Card: If your SIM is old or damaged, your carrier can provision a new one, often for free or a small fee. This is a common and simple fix.
Step 4: Software & Restoration
Persistent issues may be tied to the iOS software.
- Update iOS: Ensure you’re on the latest version. Go to Settings > General > Software Update.
- iTunes/Finder Restore (Nuclear Option): This erases all content and installs a fresh copy of iOS. Back up your iPhone first via iCloud or your computer.
- Connect your iPhone to a computer (Mac with Finder or PC with iTunes).
- Put the iPhone into Recovery Mode. The steps vary by model (e.g., for iPhone 8 and later: quickly press and release Volume Up, then Volume Down, then hold the Side button until you see the recovery mode screen).
- On your computer, choose “Restore” when prompted. This can fix deep-seated software corruption that a regular reset cannot.
Step 5: Hardware Diagnosis
If all else fails, a hardware problem is likely.
- Test with Another SIM: Borrow a friend’s SIM card (from a different, active account on a compatible network). If their SIM works in your phone, your original SIM is faulty. If your SIM works in their phone, your iPhone’s hardware is the issue.
- Identify the Hardware Culprit: Common failure points in the iPhone are:
- The SIM Tray: Bent or damaged.
- The SIM Card Reader: A small component on the logic board that can fail due to liquid damage, physical shock, or normal wear.
- The Logic Board: More serious damage or corrosion.
- Seek Professional Repair: For SIM reader or logic board issues, take your iPhone to:
- Apple Store or Apple Authorized Service Provider: For diagnostics and official repairs.
- A reputable third-party repair shop: Often more affordable for board-level repairs. Look for shops with good reviews that offer micro-soldering services.
Prevention: How to Avoid This Error in the Future
- Handle SIM Cards Gently: Avoid frequently swapping SIMs. When you do, be careful.
- Use a Case: A good case can protect the SIM tray from impact.
- Avoid Liquid Exposure: Keep your iPhone away from moisture. The SIM tray is a direct entry point to internal components.
- Complete Carrier Unlocking: If you own your phone outright, request a permanent unlock from your carrier to use it freely with any SIM worldwide.
Frequently Asked Questions (FAQ)
Q1: I just updated iOS and got this error. What do I do?
A: This is common. First, try the Network Settings Reset (Step 2.3). If that fails, a Restore via computer (Step 4.2) often resolves post-update glitches.
Q2: I bought a used/refurbished iPhone and it shows this error. Am I scammed?
A: Not necessarily, but be cautious. The phone is likely locked to a carrier the previous owner used. Contact the seller for the unlocking policy. Always ask for the IMEI and check its lock status before buying.
Q3: Can I fix a damaged SIM card reader at home?
A: No. The SIM card reader is a small, surface-mounted component on the logic board. Replacing it requires micro-soldering expertise and specialized tools. Attempting this yourself will almost certainly cause permanent damage.
Q4: Does this error mean my iPhone is blacklisted?
A: Not usually. A blacklisted iPhone (reported lost or stolen) will typically show “No Service” or fail to activate, not “SIM Not Supported.” You can check blacklist status via your carrier or IMEI check services.
Q5: How much does a professional repair cost?
A: Costs vary widely. A SIM tray replacement is cheap ($10-$30). A SIM card reader repair at a skilled third-party shop can range from $50 to $150. Apple may charge significantly more, often recommending a whole device replacement for board issues.
Final Thoughts
The “SIM Not Supported” error is a roadblock, but rarely a dead end. Methodical troubleshooting is key. Start with the simple, free fixes: restart, clean, reinsert. Move through network resets and carrier checks. Use software restoration before assuming the worst.
Remember: Your data is safe during this process. The error relates to cellular identity, not your phone’s storage. By following this guide, you’re equipped to diagnose and solve the problem efficiently, saving time, money, and frustration. If you’ve reached the hardware stage, seeking a professional diagnosis is the wisest next step.
Have a unique experience fixing this error or a question we didn’t cover? Share it in the comments below to help others in our community.